You’ve got a website and now you want to engage with your customers. Install Facebook Messenger on your WordPress website and take your customer experience to the next level. After a website is built, if left unattended, it becomes little more than an online brochure. This tool instantly makes your website more interactive by giving your visitors that feeling of instant gratification.
In this tutorial we will take you through the process, start to finish, on how to install Facebook messenger to your WordPress website.
Step 1: Setup Facebook Business Page
To be able to set up a Facebook Messenger, you will have to setup a Facebook business page.
This first step seems kind of a no brainer for some, however, there are many of people out there running their businesses using Facebook personal pages.
In addition to giving you the ability to run Facebook Messenger on your website, Facebook Business page accounts provide access to software that allows you to seriously amp up marketing to your customers.
If you would like to know how to set up a Facebook business page, check out this tutorial provided by the Facebook team.
Step 2. Launch Facebook Messenger Setup Wizard
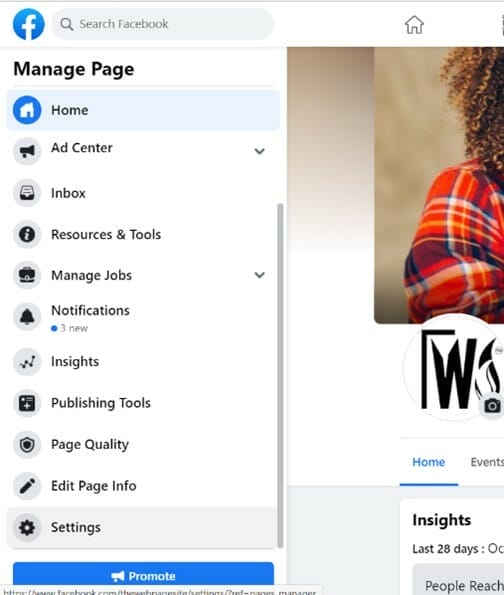
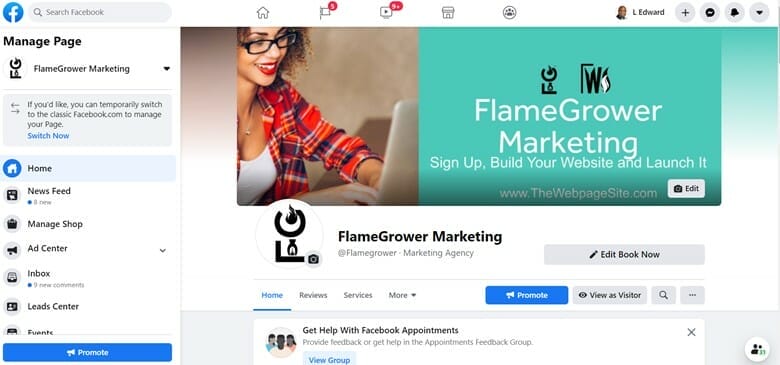
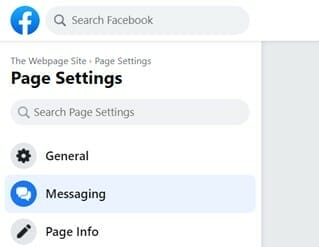
While logged in to your business page navigate to settings.
Note: You may have to scroll all the way to the bottom of your page.
Click on the tab that says “messaging”
That is going to bring you out to another display which shows your Facebook Messenger settings
Messenger settings has an option that says, “Add Messenger to your website.”
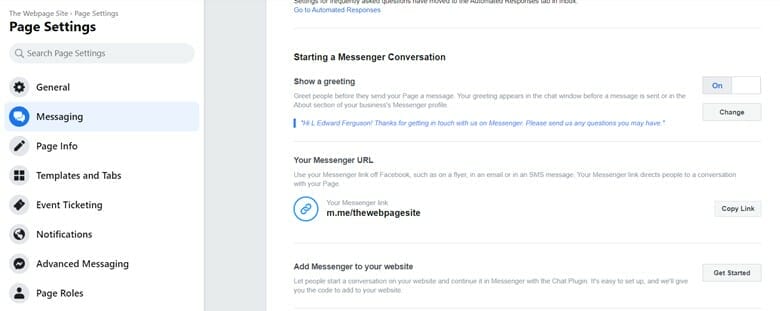
Click “Get Started”

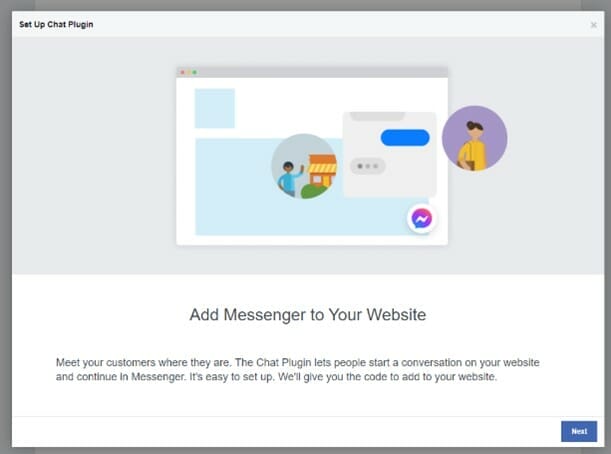
A wizard is going to pop up on your screen. It will say “Set Up Chat Plugin”
Step 3: Customize the look and feel of your websites Facebook Chat Plugin
The Facebook wizard gives us the opportunity to customize the look and feel and placement of our customer chat plugin.
Select your respective language.
TheWebpageSite.com operates primarily out of Houston Tx , so we’re selecting English (US). If your website is written in a different language, this is where you would select that language.
In next selection you will create your personalized chat greeting.
When people visit your site, this option is going to give your chat the ability to engage with them right away. Essentially just let people know that you’re able to communicate with them.
Studies have shown that having an engaging popup will boost interaction to your site.
Enable “Guest Chat”
This option allows people that don’t own a Facebook account to communicate with you.
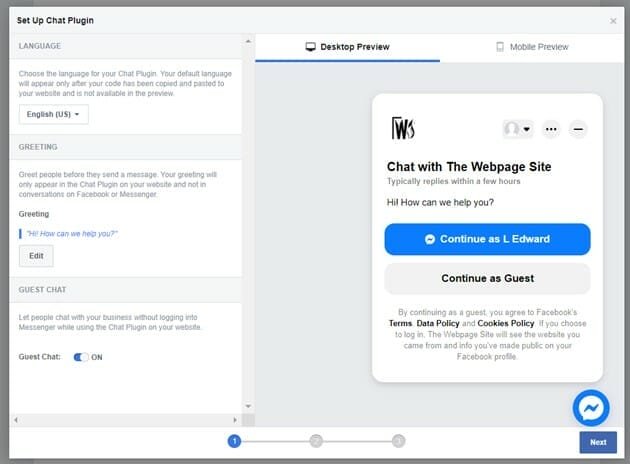
Click “Next”
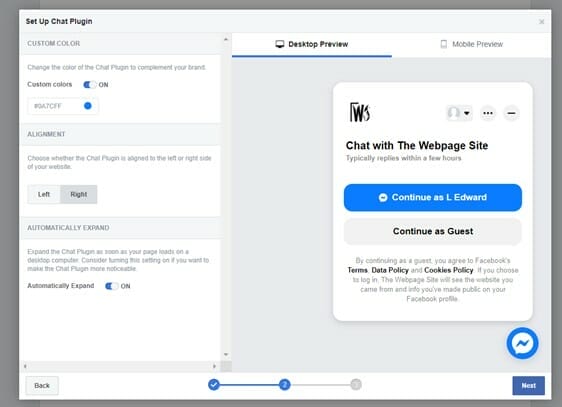
Here you are going to customize the placement and look of your plug-in. This is great for brands that are enforcing visual consistency throughout their website.
At the top the wizard asks you to customize the colors. The default is color selection is Facebook blue and gray.
Below, you will notice there is an option for left or right alignment.
If you have other floating buttons on your website such as let’s say a re CAPTCHA or another type of pop up, this is for you. This selection gives you the option to move your chat plug so it doesn’t overlap with those items.
Finally, there is an option that says, “Automatically Expanded.”
This options allows the Messenger immediately open when a customer or client visits your website.
Think of it as a mini cheerleader saying,” Hey! I’m here I’m ready to engage with you, let’s do business!”
Step 4. Install Facebook messenger code into your WordPress website
Enter the Domain you will be showing the chat messenger on.
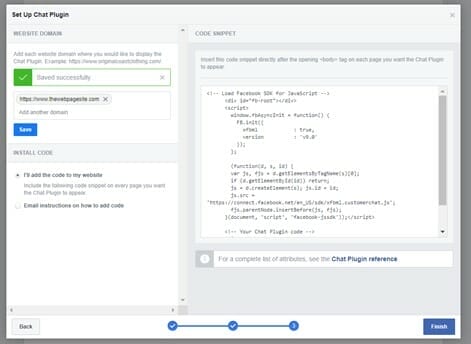
“Save”
Copy the “code snippet”
Similar to our installation of Google Analytics in post, you will need to install a plugin called, “Insert Headers and Footers” on your WordPress website
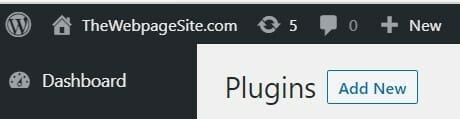
Login to your WordPress Dashboard
Navigate to plugins
Select the option to “Add New.”
Search for “Insert Headers and Footers”
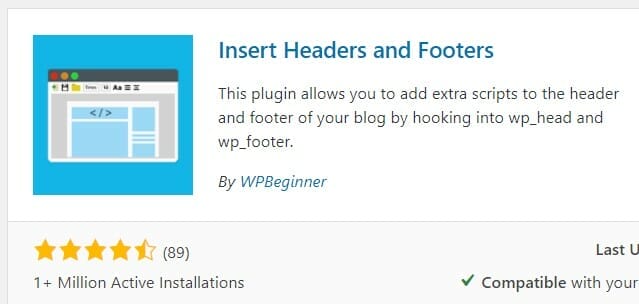
“Install” then “Activate” the plugin.
Navigate to Settings > click “Insert Headers and Footers”
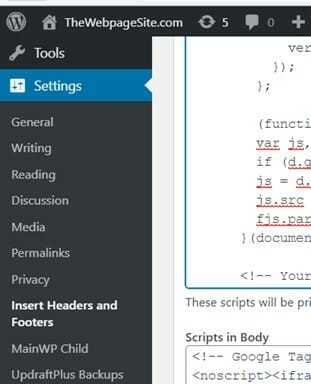
In the “Scripts in Header” area past your Facebook chat code
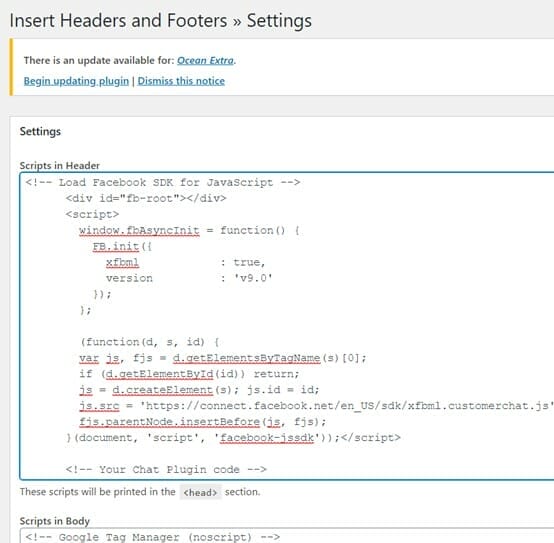
After pasting the code, save and you’re done!
Tip: On The Go?
Install the Facebook messenger client on your phone so you can respond while you are away from your computer.
Using the mobile app store for your device, download the mobile version of the widget so you can chat on the go!